
A lot of Melbourne bathroom repaints start the same way. The room looked fine when it was done, then a winter of long showers, cold mornings and patchy exhaust fan use exposed every weak point in the system. The ceiling starts to spot. The wall above the shower gets a soft, tacky feel. In older homes, the previous coating can lift around cornices or above the window reveal. In newer apartments, the finish often looks clean for a while, then mould staining shows up where steam lingers.
That's why generic advice like “just use semi-gloss” usually falls short. A bathroom in a Camberwell Federation home doesn't behave the same way as a compact ensuite in South Yarra. Different substrates, different ventilation, different levels of daily steam. The right answer isn't just a sheen. It's a paint system matched to the room.
At Newline Painting, we see this most often in bathrooms that were painted like an ordinary bedroom. The topcoat might be decent, but the prep was rushed, the substrate wasn't fully dry, or the room never had a proper moisture plan behind it. Our trade-qualified team approaches bathrooms differently because wet areas punish shortcuts. That's also why workmanship matters long after the painter leaves, and why a 7-year workmanship warranty has to be backed by proper prep and product selection, not just a neat finish on day one.
If you're researching the best paint for bathrooms, this is the practical version. Not trend advice, not brochure language. Just what holds up in Melbourne conditions, what tends to fail, and how to choose a system that suits your property.
Table of Contents
- Introduction
- Why Bathroom Paint Requires a Specialised System
- Choosing the Right Sheen and Paint Type
- The Critical Role of Surface Preparation
- Painting Beyond Walls Tiles Vanities and Trims
- DIY vs Professional Application A Melbourne Perspective
- Maintaining Your Finish and When to Call for a Quote
Introduction
The best paint for bathrooms is usually a water-based acrylic interior paint in a satin to semi-gloss finish, but that answer only helps if the room is prepared properly and the moisture load is under control.
In Melbourne, bathrooms cop a particular mix of stress. Cold mornings increase condensation on walls and ceilings, especially in older brick homes and compact apartments where steam hangs around after a shower. If the existing finish is matte, chalky, or already contaminated with mildew, the new coat won't perform the way the label suggests. It will only look good briefly.
A practical bathroom repaint starts with the room, not the colour chart. You need to assess how the bathroom vents, where condensation sits, whether there's previous water staining, and what's on the surface now. In a Victorian terrace, that may mean repairing brittle plaster and stabilising old paint edges. In a newer build, it may mean dealing with slick builder-grade paint that was never intended for heavy moisture.
Practical rule: Bathroom painting is a moisture-management job first and a decorating job second.
There's also a difference between a main family bathroom and a powder room. A powder room can be more forgiving because it doesn't carry the same steam load. A shared bathroom used every day by a family needs a tougher, less porous coating and more discipline around prep, cure time and ventilation.
For informed clients, that's the key decision point. Not whether satin or semi-gloss sounds better in theory, but which full system suits your bathroom, your building, and the way the room is used.
Why Bathroom Paint Requires a Specialised System
Bathroom paint needs a specialised system because steam, condensation and weak ventilation attack both the surface and the coating film.
Moisture is the real problem
In Australia, mould in bathrooms is a widespread indoor air-quality issue, and national healthy homes guidance treats bathrooms as a high-risk moisture zone where ventilation and moisture control are essential. The National Construction Code also requires adequate ventilation, which is why bathroom paint should be treated as part of a broader moisture-management system, not just a finish choice, as outlined in this bathroom ventilation and coating guidance.
That matters in Melbourne because the room often swings between warm steam and cooler surfaces. A hot shower loads the air with moisture. That moisture then condenses on ceilings, upper walls, cornices, and around windows or external walls. If the film is porous, or if the fan is weak and the room stays damp, the coating stays under stress.
Here's the visual version of the problem:
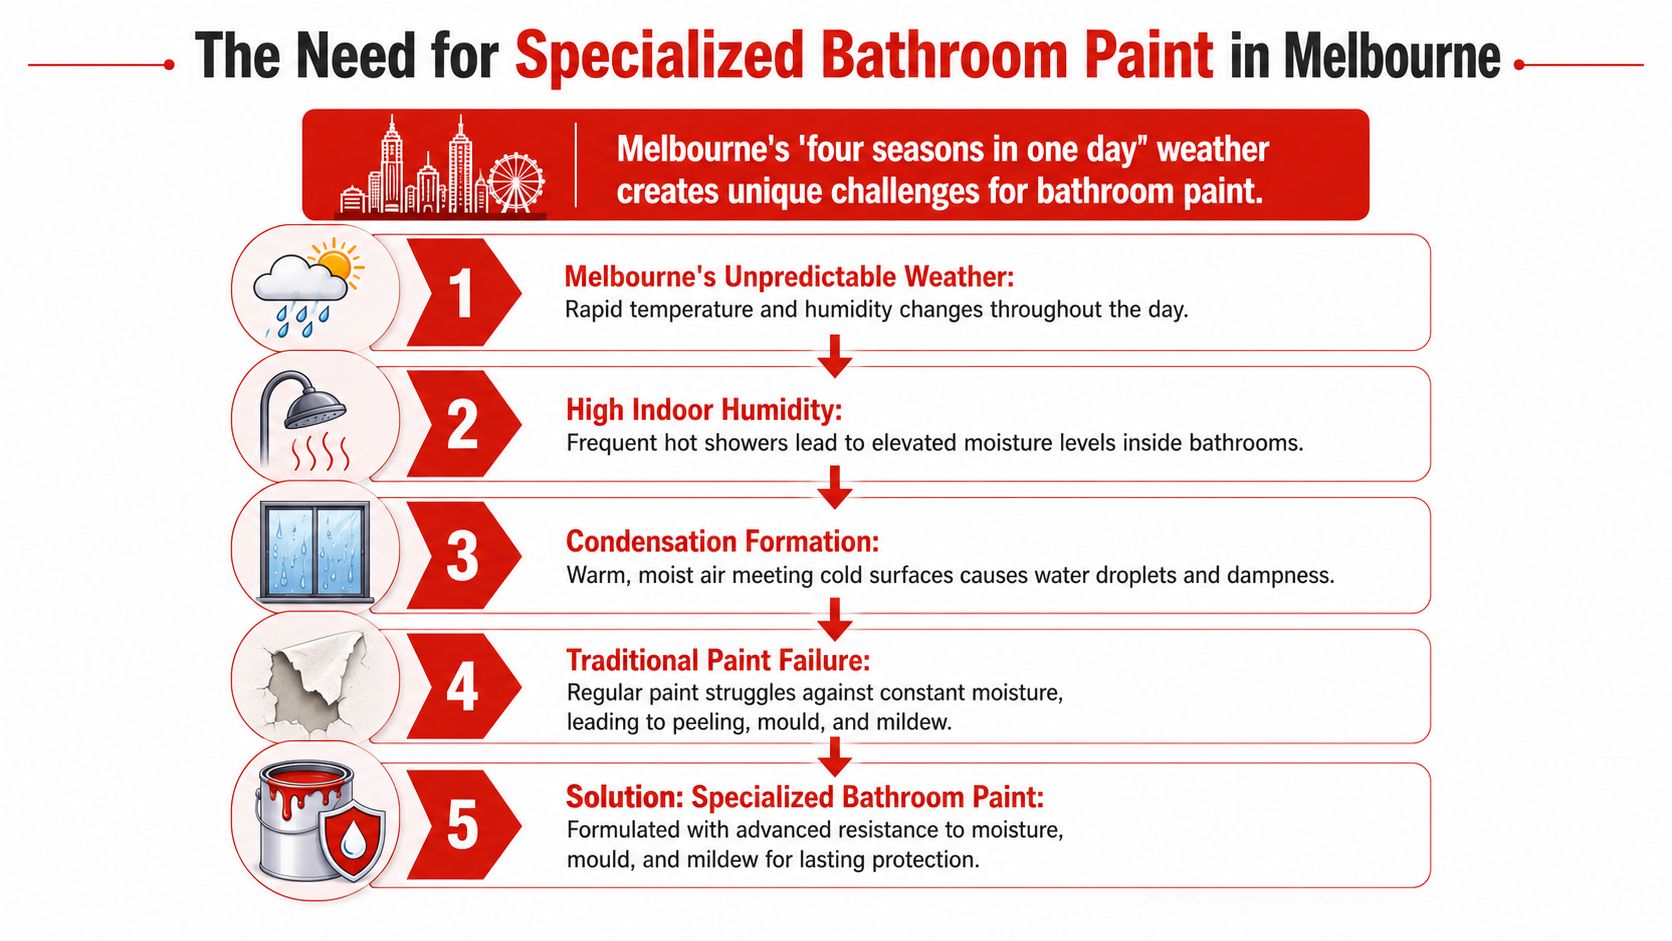
In practical terms, these are the pressure points painters watch for:
- Ceilings above showers often show failure first because warm air rises and sits there.
- External walls can attract more condensation when the wall surface is cooler.
- Poorly ventilated ensuites in apartments tend to stay damp longer after use.
- Older bathrooms with intermittent fan use often carry hidden mould staining under the current paint film.
Why ordinary wall paint breaks down
Standard flat wall paint usually isn't the right fit for a full bathroom because it's more porous and less washable. It absorbs more moisture, marks more easily, and doesn't tolerate repeated wiping the way a denser satin or semi-gloss film does.
You can see that failure pattern in the field. The film softens, stains hold in place, and old mildew can bleed back if the substrate wasn't cleaned properly. On ceilings, you often get patchiness before you get full peeling. On walls near the shower, the finish can dull out or start to blister.
A short explainer can help if you want to see the issue in action:
Bathrooms fail from accumulated moisture exposure, not one bad shower. The paint only lasts if the room can dry between uses.
That's why the best paint for bathrooms isn't one single tin. It's a sequence. Dry substrate, proper prep, the right primer where needed, and a topcoat that can cope with steam and cleaning.
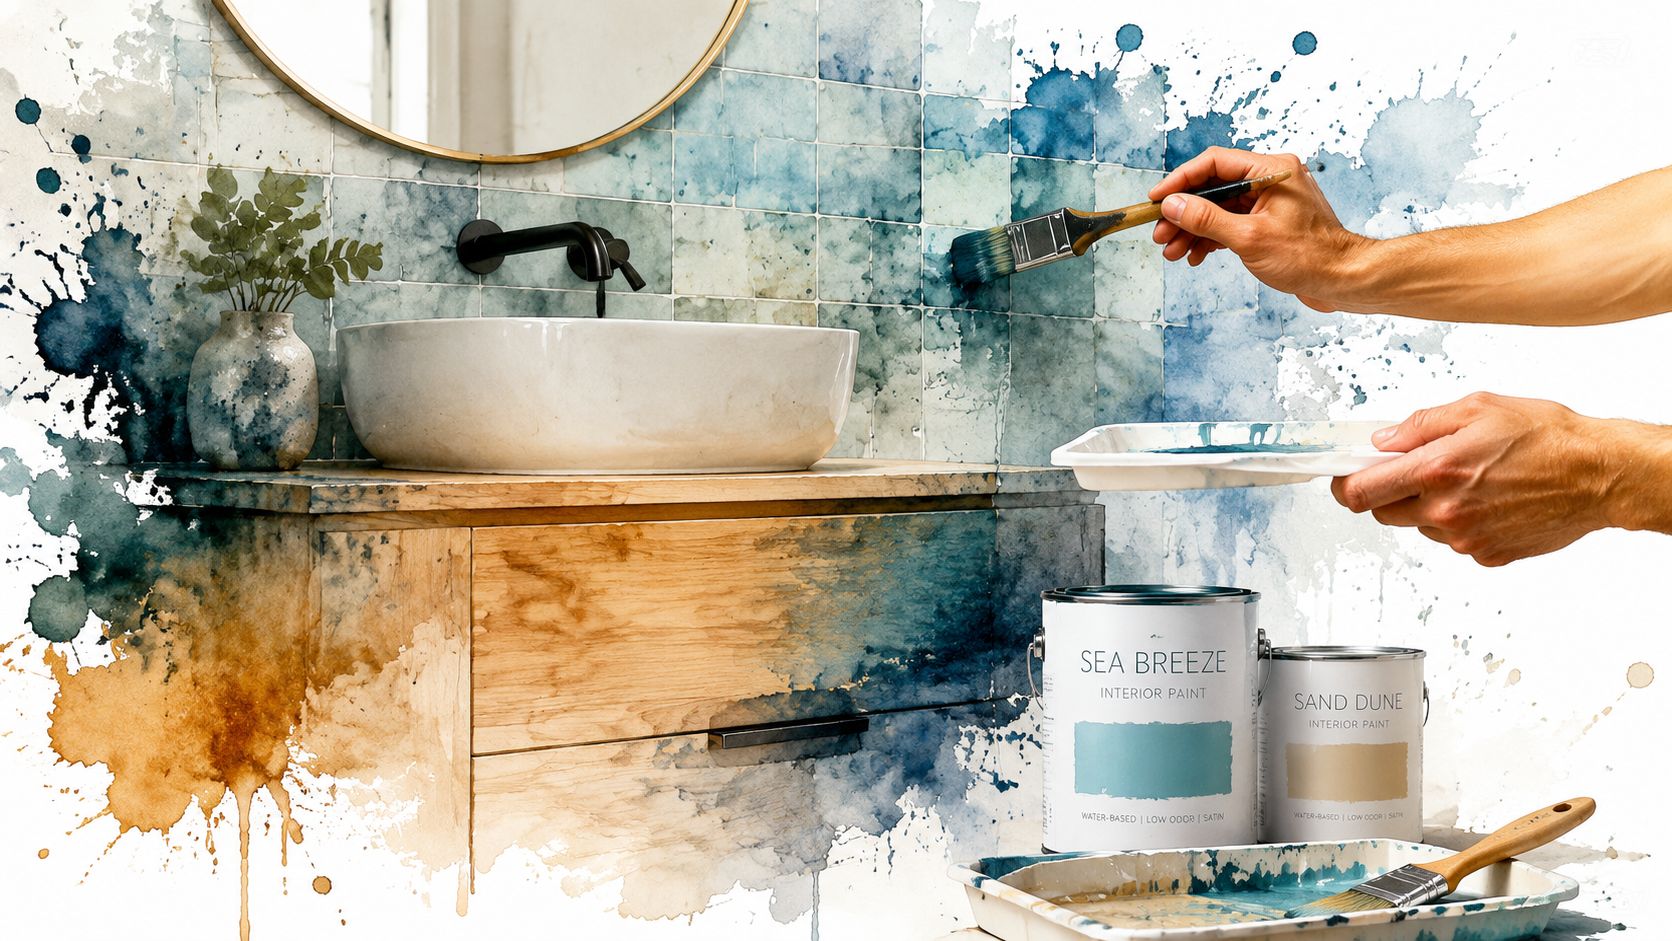
Choosing the Right Sheen and Paint Type
The safest choice for most Melbourne bathrooms is water-based acrylic in satin or semi-gloss.
What to use on most bathroom walls
The most technically effective option is typically a water-based acrylic interior paint in a satin to semi-gloss sheen because those finishes form a harder, less porous surface that resists moisture uptake and cleans more easily. New paint should also only go onto a clean, dry substrate to avoid adhesion problems, as noted in this guidance on paint type and bathroom application.
That lines up with what works on site. For walls and ceilings in a regularly used bathroom, I'd usually steer a client toward satin if the surface has a few imperfections and they want a softer look, or semi-gloss if the room is tight, steamy, and gets wiped down often. Both are more practical than flat paint in a wet area.
Melbourne housing stock makes that trade-off clearer:
- In a modern apartment ensuite, semi-gloss can be the safer option if the room has limited airflow.
- In a period home bathroom with older plaster and decorative detail, satin often gives a better visual balance while still holding up well.
- In a powder room with no shower, you can afford a bit more flexibility, but that's a different use case from a full bathroom.
If you want a broader breakdown of how sheen affects appearance and washability, this guide to the different paint finishes for interior surfaces is a useful reference.
Bathroom Paint Sheen Comparison
Bathroom Paint Sheen Comparison
| Feature | Satin / Low-Sheen Acrylic | Semi-Gloss Acrylic |
|---|---|---|
| Moisture resistance | Good for most bathrooms | Better for heavier steam exposure |
| Cleanability | Wipes clean well | Handles frequent wiping and scrubbing better |
| Appearance | Softer look, less reflective | Brighter, more reflective finish |
| Tolerance of wall imperfections | More forgiving | Shows surface flaws more readily |
| Best fit | Main bathrooms with decent prep and reasonable ventilation | Tight bathrooms, family bathrooms, poorly ventilated spaces |
A few things don't work well in practice.
- Flat wall paint looks calm on day one but is usually the wrong system for a steamy bathroom.
- Low-end generic interior paint often struggles with repeated moisture and cleaning.
- Very glossy walls can be overkill visually and will highlight every patch, sanding mark and plaster ripple.
Selection guide: If the bathroom is used hard and dries slowly, lean toward semi-gloss. If the room is better ventilated and the walls need a more forgiving finish, satin is usually the better balance.
As for brands, most professional painters in Melbourne will work within quality acrylic systems from established manufacturers such as Dulux, Haymes, Taubmans, Berger and Wattyl. The key isn't the logo on the can alone. It's using the right line within that brand for a wet interior.
The Critical Role of Surface Preparation
Preparation is what decides whether a bathroom repaint lasts or fails early.
The common mistake is focusing on the topcoat and ignoring what's underneath. In poorly ventilated Australian homes, the primary issue is moisture management rather than sheen alone. The more useful advice is about the full system, including primer choice, mildewcide additives and adequate drying time, especially where ventilation is weak, as discussed in this article on high-moisture paint systems.
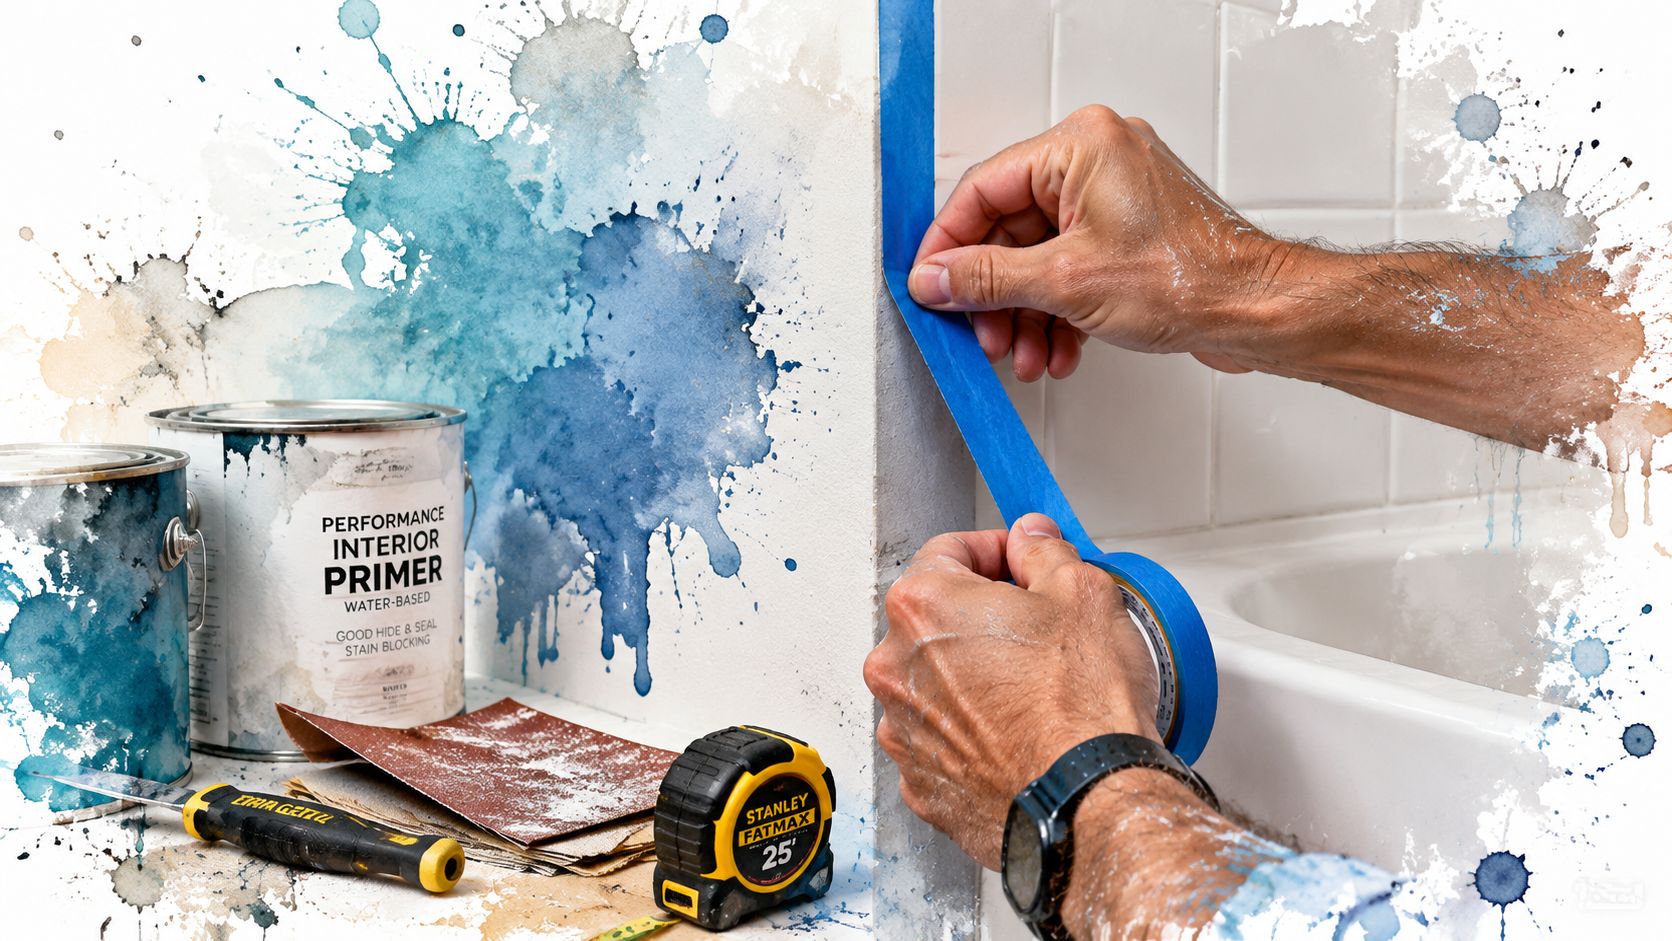
What proper prep looks like
A bathroom shouldn't be painted until the substrate is clean, sound and dry. That sounds basic, but it's where many repaint jobs go wrong.
A proper prep sequence usually includes:
- Removing contamination so soap residue, body oils, hairspray film and general bathroom grime don't interfere with adhesion.
- Treating mould and mildew rather than painting over it and hoping the new colour hides it.
- Repairing damaged plaster where old moisture has softened or stained the wall.
- Sanding glossy or unstable areas so the new coating can key in properly.
- Caulking gaps and movement points around trims, architraves and junctions where moisture can sit.
If you're comparing quotes or checking your own process, this overview of how to prepare walls for painting properly is a good benchmark.
One common Melbourne scenario is the apartment bathroom with no window and only intermittent fan use. The wall outside the shower can look intact, but once you wash it down, old patch repairs soften or previous paint edges lift. In older homes, the ceiling above the shower often reveals fine cracking and historic stain marks that only become obvious once the room is cleaned and sanded.
Paint doesn't hide a wet-area problem. It usually exposes it.
Primer is part of the system
Primer in a bathroom isn't optional when the surface condition calls for it. It's what separates a cosmetic repaint from a stable coating system.
Use primer when you have:
- Water staining or repaired areas that need a stain-blocking base.
- Bare plaster or filler that would otherwise absorb the finish unevenly.
- Glossy existing coatings that need improved adhesion.
- Substrates with a history of mildew staining where you need a more controlled base before topcoats.
For clients, this is often the easiest way to judge whether a bathroom quote is realistic. If the room has active stains, mould history or obvious repairs and the scope jumps straight to “two coats”, something's missing.
Painting Beyond Walls Tiles Vanities and Trims
Bathrooms aren't just painted walls. The finish often has to extend across tiles, cabinetry, doors, skirtings and detailed trims, especially in cosmetic updates before sale.
Tiles need adhesion first
Painting tiles can work, but only when the substrate and expectations are right. Wall tiles outside constant immersion areas are generally more suitable than surfaces that sit under direct, ongoing water exposure.
The process matters more than the colour:
- Degrease thoroughly because tile surfaces often hold invisible residue.
- Abrade or mechanically key the surface where the system requires it.
- Use a high-adhesion primer suited to slick, non-porous substrates.
- Apply the correct topcoat system rather than standard wall paint.
For readers weighing that option, this guide on painting bathroom tiles properly covers the substrate-specific steps involved.
Tile painting is often a sensible choice in older Melbourne bathrooms where the layout works but the finish dates the room. In Albert Park or Brighton pre-sale work, for example, it can sharpen the presentation without opening a full renovation. The limitation is durability in heavy-contact zones. Painted tile can look sharp, but it still needs the right prep and realistic use conditions.
Vanities and trims need a different topcoat
Bathroom vanities, doors and trims usually need a tougher coating than the walls. Timber movement, hand contact, cleaning products and water splash all place more stress on those surfaces.
That means using a cabinet or trim system designed for a harder, smoother finish, not extending the wall paint onto everything. For heritage bathrooms in suburbs such as Kew or Hawthorn, this is especially important on architraves and detailed timber profiles, where thick or unsuitable paint can soften the detail and still fail early.
If you're working through vanity colour options before repainting, these cabinet color ideas for South Jersey homes are useful for thinking about contrast, tone and how cabinetry sits against wall colour, even though the homes are in a different market.
A simple rule helps here:
Use wall paint on walls, tile systems on tiles, and cabinet or trim coatings on joinery. Bathrooms punish one-product shortcuts.
DIY vs Professional Application A Melbourne Perspective
DIY bathroom painting can work in a limited set of conditions. Professional application is usually the safer call when the room has moisture history, mould, damaged plaster, older coatings or multiple substrates.
When DIY can work
If the bathroom is a powder room, the walls are sound, there's no mould history, and you're staying within a straightforward repaint on standard plaster, a careful DIY job can be reasonable. The key is staying disciplined about cleaning, drying, sanding and not rushing the cure period.
DIY tends to suit:
- Low-moisture rooms such as guest powder rooms
- Small cosmetic repaints where the existing coating is stable
- Simple wall-only work without tile, trim or vanity refinishing
- Owners who already understand prep and can work neatly in tight spaces
Where DIY often gets expensive is not in materials, but in doing the room twice. The common failures are predictable. Painting over residual mildew, skipping primer where repairs were made, choosing a finish that's too porous, or using the shower too early and softening the coating before it cures properly.
Where professional application changes the result
A full bathroom repaint is less forgiving than a bedroom or hallway because the room tests adhesion and cure strength quickly. Professionals don't just apply paint faster. They identify the substrate, assess what can stay, strip back unstable areas, and match the coating system to the room.
That matters even more in Melbourne homes with mixed surfaces. A period bathroom may have old plaster walls, newer patch repairs, timber trims and a ceiling that has failed at least once before. An apartment ensuite may need careful masking, odour control, tighter scheduling and a system that can cope with poor airflow.
For clients, the practical value of a professional job usually comes down to a few points:
- System selection because bathrooms often need more than two finish coats.
- Preparation standards that are hard to match if you don't do this work regularly.
- Finish quality on reflective sheens where every defect shows.
- Accountability if something moves or fails after completion.
A documented process helps. A written quote should identify preparation, paint system and scope clearly. In a company setup such as Newline Painting, the job also sits behind a 7-year workmanship warranty, $20M public liability insurance, and a trade-qualified team, which matters more in a wet area than it does on a low-risk cosmetic touch-up.
If a bathroom already has a history of peeling, mould staining or patch repairs, the cheapest job is rarely the one that lasts.
That doesn't mean every bathroom needs a big intervention. It means the room needs an honest assessment before anyone starts rolling paint.
Maintaining Your Finish and When to Call for a Quote
A good bathroom finish lasts longer when the room can dry properly between uses and the surface is cleaned without being overworked.
How to make the paint last
Once the repaint is done, maintenance is fairly simple:
- Run the exhaust fan consistently during and after showers so moisture clears before it settles back into the coating.
- Wipe down condensation-prone areas if the room tends to hold steam on colder mornings.
- Clean gently with non-abrasive methods rather than aggressive scrubbing.
- Watch small defects early because a minor stain or hairline crack is easier to deal with before moisture gets behind it.
Most bathroom paint failures that show up early have an underlying cause. Sometimes it's a prep issue. Sometimes the room is carrying more moisture than the owner realised. If staining returns in the same spot, or the film keeps softening above the shower, it's worth checking whether the problem is in the wall or behind it. In those cases, a specialist service such as EZ Plumbing leak detection can help rule out hidden moisture before the room is repainted again.
Signs the room needs more than a repaint
A repaint alone may not be enough if you're seeing any of the following:
- Persistent mould returning in the same area
- Brown or yellow staining that keeps bleeding through
- Peeling concentrated on one wall or ceiling section
- Soft plaster, bubbling, or swollen trim
- A bathroom with chronically weak ventilation
That's usually the point to get the room assessed in person. A proper site visit can determine whether the fix is mainly coating-related, prep-related, or whether the room has an ongoing moisture issue that needs to be addressed first.
If you want the best paint for bathrooms to perform, the practical formula is simple. Match the sheen to the room's moisture load, prepare the substrate properly, use the right primer where needed, and don't rush the cure.
If you'd like a clear recommendation for your bathroom, you can request a free on-site quote from Newline Painting or call 1300 044 206. We service Melbourne homes and apartments, provide written scopes that cover preparation and paint system selection, and can advise whether your bathroom needs a straightforward repaint or a more complete wet-area coating approach.