
You've probably seen it the same way many others do. You walk into the bathroom, look up, and notice dark spotting above the shower or along the ceiling edge near the cornice. The first reaction is usually to wipe it off, repaint it, and hope it's gone.
That rarely works for long.
Cleaning mold off ceiling properly is a fix-and-finish job. You need to stop the moisture source, remove the visible growth carefully, let the surface dry fully, then repair, seal, and repaint with the right system. Skip any one of those steps and the stain, odour, or mold itself usually comes back.
For small areas, a careful DIY approach can work. For recurring mold, damaged plaster, sagging board, or bigger affected sections, it's time to stop treating it like a cleaning issue and start treating it like a building and coating issue.
Table of Contents
- First Steps for Dealing with Ceiling Mold
- Understanding the Cause of Mold on Your Ceiling
- Your Essential Safety and Cleaning Toolkit
- The Step-by-Step Process for Cleaning Ceiling Mold
- Drying, Repairing, and Preparing the Surface for Paint
- Repainting with a Mold-Resistant Paint System
- When to Call a Professional Painter or Remediator
First Steps for Dealing with Ceiling Mold
Ceiling mold in Melbourne homes usually shows up in bathrooms, laundries, and any room where warm moist air hangs around longer than it should. The visible patch matters, but it's only the symptom. The key task is finding out why the ceiling stayed damp long enough for mold to grow in the first place.
A reliable approach has three parts.
First, stop the moisture. That might mean using the exhaust fan properly, drying condensation faster, or chasing down a slow roof or plumbing issue. If you clean before fixing that part, you're usually cleaning for appearance, not for a lasting result.
Second, remove the mold carefully. The aim isn't to scrub as hard as possible. It's to clean the affected surface without damaging plasterboard or spreading spores across the room.
Third, finish the ceiling like a painter, not like a cleaner. That means checking for staining, loose paint, soft substrate, and any need for patching or sealing before repainting.
Practical rule: If the mold disappears but the ceiling still shows water staining, flaking paint, or softness, the job isn't finished.
For a small bathroom patch, that process is manageable if you work slowly and keep the area controlled. For a ceiling that's repeatedly going mouldy, or one that's stained and deteriorating, repainting becomes a preparation-heavy job rather than a quick cosmetic refresh.
A neat finish depends on what happened before the paint went on. That's especially true with ceilings, where trapped moisture, bleed-through, and failed adhesion show up quickly.
Understanding the Cause of Mold on Your Ceiling
Mold on a ceiling isn't random. It appears where moisture sits, returns, or never really leaves. In Australian guidance, mold removal is treated as a moisture-control problem first, with the recommended sequence being to identify and fix the water source before cleaning the surface. Guidance for bathrooms also stresses using ventilation fans during and after showers, because condensation and humidity are key drivers. If the problem keeps returning or the ceiling is damaged, replacement may be more appropriate than cleaning, as noted in Australian bathroom ceiling mold guidance.
Condensation is the usual culprit
In bathrooms, the ceiling often carries the heaviest moisture load. Warm steam rises, hits a cooler surface, and leaves condensation behind. If the room has a weak fan, no fan, or a fan that vents poorly, that damp film keeps returning.
Older Melbourne homes often make this worse. Small bathrooms, limited window openings, and older exhaust setups mean the room might look dry after a shower while the ceiling still isn't. Over time you'll often see spotting above the shower, around corners, or near ceiling trims where airflow is weakest.
Common signs of a condensation-driven issue include:
- Mold concentrated near the shower or bath: The pattern usually follows steam movement, not a single leak point.
- Worse growth in winter: Cooler ceiling surfaces hold condensation longer.
- Little or no obvious staining: You may see spotting before you see classic water marks.
Leaks leave different clues
Not every mold patch is from steam. A slow roof leak, failed flashing, plumbing issue from above, or water ingress around upper-storey wet areas can all stain a ceiling and feed mold from inside the substrate.
Leak-related mold often comes with other warning signs:
| Clue on the ceiling | What it may suggest |
|---|---|
| Brown or yellow staining | Water intrusion rather than simple surface condensation |
| Peeling or bubbling paint | Moisture trapped under the coating |
| Sagging plasterboard | Repeated wetting or saturation |
| A soft patch when pressed gently | Damage inside the board |
If you suspect hidden moisture, it helps to look beyond the bathroom ceiling itself. This Sydney homeowner's guide to water leaks is a useful reference for tracing the kinds of plumbing and building clues that often sit behind recurring mold problems.
A ceiling that keeps going mouldy is telling you something. The message usually isn't “clean me better”. It's “find where the moisture is coming from”.
Your Essential Safety and Cleaning Toolkit
Treat mold cleanup like a small controlled maintenance job, not a casual wipe-down. The wrong setup usually leads to two problems. People breathe in more spores than they should, and they make a mess of the ceiling surface by using tools that are too aggressive.
Safety gear first
Before you start cleaning mold off ceiling surfaces, get your personal protection sorted.
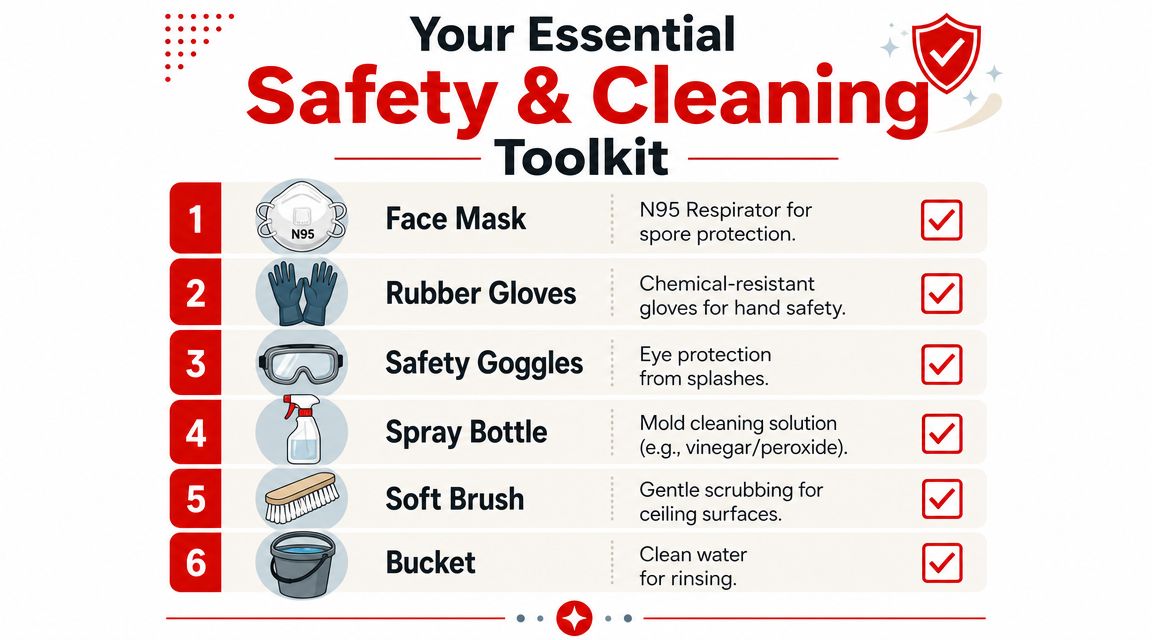
Use this basic kit:
- P2 or N95 respirator: A proper mask matters when you're working overhead and disturbing surface growth.
- Chemical-resistant gloves: You don't want cleaning solution or contaminated residue sitting on your skin.
- Safety goggles: Overhead spraying and wiping can flick cleaner or debris straight back at your eyes.
- Old clothes or disposable coveralls: Ceiling work drops residue. Expect drips.
- Stable step ladder: Don't overreach. Move the ladder often instead.
- Plastic sheeting and painter's tape: Cover floors, vanity tops, and fittings so cleanup stays contained.
Cleaning supplies that are actually useful
You don't need a huge kit. You do need the right one.
A practical setup includes:
- Spray bottle: For controlled application of your cleaning solution.
- Soft cloths or microfibre cloths: Better than anything abrasive on painted plasterboard.
- Soft sponge: Useful for gentle wiping after dwell time.
- Bucket with clean water: For rinsing cloths and keeping residue under control.
- Mild detergent or a suitable mold-cleaning solution: Keep it straightforward and compatible with interior painted surfaces.
- Waste bags: For used cloths, disposable protection, and contaminated debris.
Avoid a few common mistakes:
- Hard-bristle scrubbing brushes on plasterboard: They can gouge the surface and roughen the paper face.
- Overloading the ceiling with liquid: Wet plasterboard is harder to repair cleanly.
- Mixing random chemicals: Keep the process simple and controlled.
Set the room up before you open the bottle. Most bad DIY cleanup jobs go wrong in the first five minutes, not the last five.
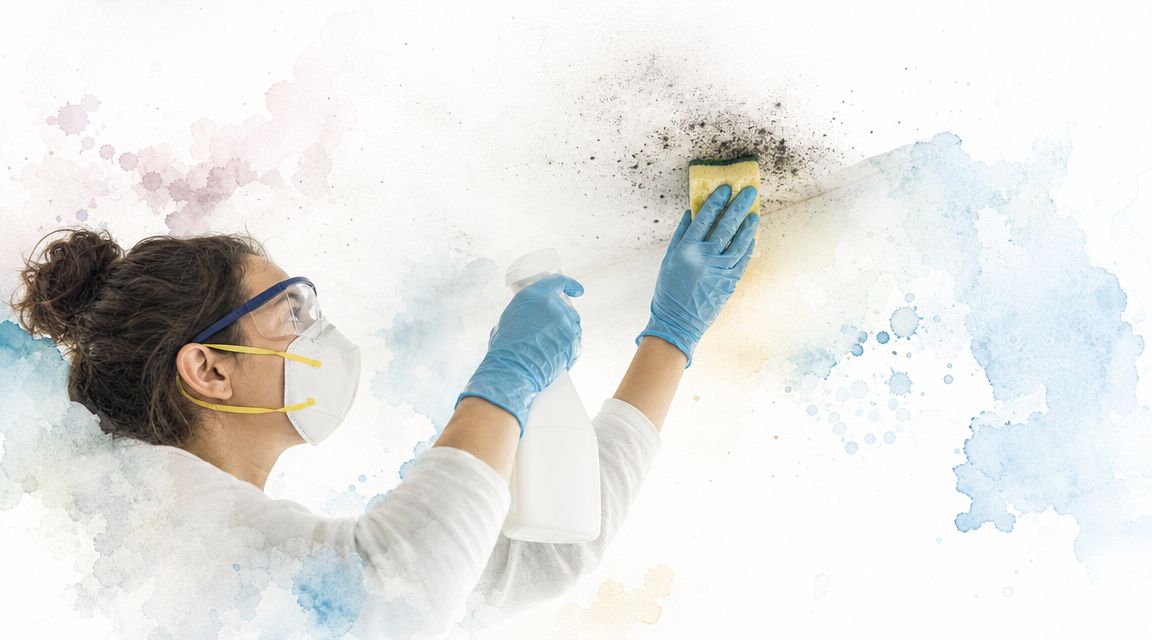
The Step-by-Step Process for Cleaning Ceiling Mold
A careful method works better than brute force. The aim is to remove visible growth without soaking the substrate or spreading spores through the room.
Industry guidance for a more thorough workflow recommends ventilating the room, working in small sections, and leaving the cleaning solution in contact for about 10–15 minutes before gentle scrubbing. It also warns against aggressive brushing on drywall because that can damage the surface and aerosolise spores, and notes that very porous materials may need replacement, as outlined in this guide on controlled ceiling mold cleaning methods.
Contain the area before you touch the ceiling
Open what ventilation you can safely use in the room. Cover nearby surfaces with plastic sheeting. Remove towels, bath mats, and loose items that can trap spores or absorb drips.
Then work through the area in order:
- Set the ladder safely so you can reach the patch without stretching.
- Mist or apply solution directly to the mold using a spray bottle. Keep the application controlled rather than drenching the board.
- Let the cleaner sit for the recommended contact time so you're not relying on force.
If you want a broader general read on contamination handling, this article with tips for addressing black mold is useful background, especially for understanding why containment matters.
Clean in small sections and stay gentle
Once the solution has had time to work, wipe or gently scrub the patch with a soft cloth, sponge, or very soft brush suited to the surface. On a painted bathroom ceiling, gentle is the operative word.
Don't try to do the whole ceiling in one pass. Work a small section, wipe residue away, then reassess before moving on. If the paint starts lifting, the board feels soft, or the paper face looks fuzzy, stop and switch from cleaning mode to repair mode.
A simple sequence looks like this:
- Apply the cleaner: Keep it targeted.
- Wait the full dwell time: Let chemistry do the work.
- Wipe lightly: Remove visible growth without tearing the surface.
- Repeat only if needed: Multiple light passes are safer than one hard scrub.
This video gives a useful visual reference for the kind of controlled approach homeowners often find easiest to follow.
If the patch is on a ceiling tile, heavily textured porous finish, or visibly deteriorated plasterboard, cleaning may not be the right endpoint. Some materials hold contamination too extensively to give you a dependable result from surface treatment alone.
Drying, Repairing, and Preparing the Surface for Paint
Most DIY jobs stop too early. The mold is gone, so the room looks better, and a lot of people reach for ceiling white straight away. That's where the finish usually fails.
EPA guidance says that after mold is scrubbed from hard surfaces, they must be dried completely, and damaged or water-stained porous ceiling materials may need removal and replacement because mold can grow into crevices and become impossible to fully eradicate. For painters, the practical benchmark is simple: never prime until the substrate is fully dry. That guidance is set out in the EPA's basic mold cleanup steps for hard and porous materials.
Dry first or don't paint at all
A ceiling can feel dry to the touch and still not be ready for coating. That's especially true after cleaning overhead, where moisture can sit in the paint film, plasterboard paper, or patched areas.
If you prime a damp ceiling, you lock the problem under a new coating system instead of finishing the repair.
What to check before paint prep begins:
- No cool damp feel on the surface: Compare the cleaned area to unaffected ceiling nearby.
- No active staining growth: Fresh rings or shadowing can signal ongoing moisture.
- No soft spots or movement: Sound substrate matters more than appearance.
If the ceiling is stained but structurally sound, you're moving into normal painter's prep. If it's sagging, swollen, or crumbling, replacement of the affected section is often the cleaner and more durable path.
Deal with stains and damaged plaster properly
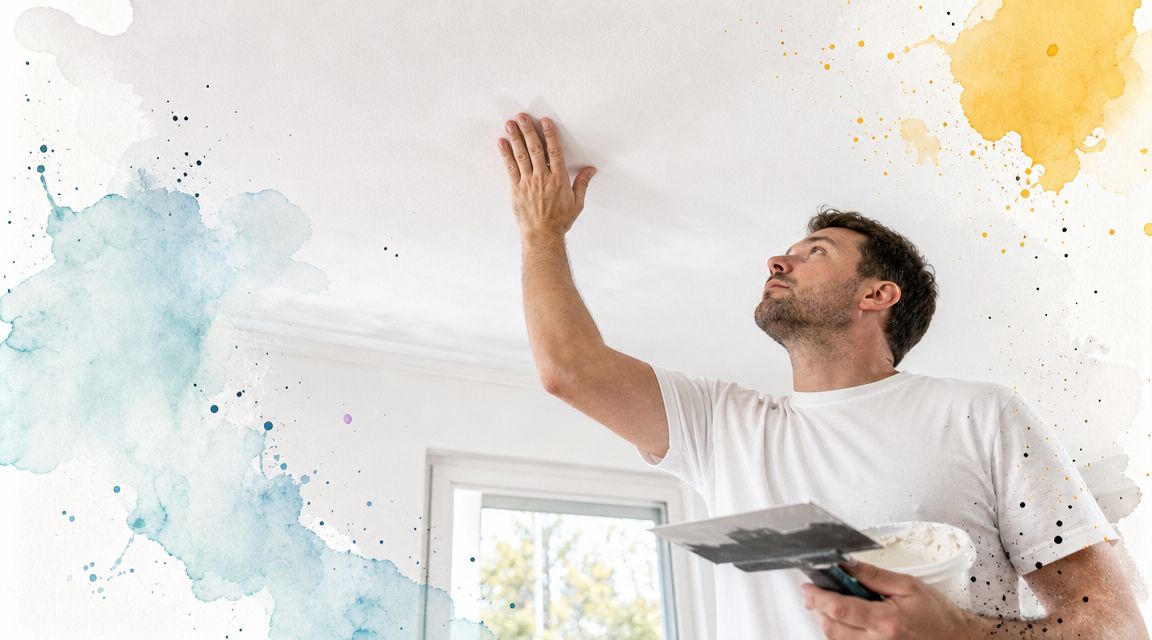
Once the area is dry, inspect it like a painter would, not just like a cleaner would.
You may need to address:
- Water stains: These often bleed through standard ceiling paint. A stain-blocking primer is usually the right next layer before topcoats.
- Flaking or loose paint: Scrape back to sound edges, then feather sand.
- Minor surface roughness: Light sanding can restore a more even finish before sealing.
- Soft or damaged plasterboard: Cut out and patch if the substrate has lost integrity.
A good preparation checklist for this stage is very similar to broader interior surface prep. This guide on how to prepare walls for painting properly is worth reading because the same principles apply to repaired ceiling areas. Clean substrate, sound edges, proper filling, sanding, and sealing are what give the finish a chance to last.
Here's the trade-off in plain terms:
| Option | When it works | Where it fails |
|---|---|---|
| Clean and repaint | Light surface issue on sound painted ceiling | Ongoing moisture or hidden damage |
| Stain block and topcoat | Dry ceiling with residual discoloration | Damp substrate or soft board |
| Patch and repaint | Localised material breakdown | Widespread deterioration |
| Replace section | Repeated wetting, porous damage, sagging | Unnecessary for a minor surface patch |
Repainting with a Mold-Resistant Paint System
Once the surface is clean, dry, and properly prepared, the repaint matters. Not because paint solves mold by itself, but because the right coating system gives the repaired area a much better chance of staying stable in a damp room.
A bathroom ceiling isn't the place for whatever leftover flat white is in the garage. You want a system chosen for moisture-prone interiors and applied over sound preparation.
What each coat is doing
Think about the repaint in layers.
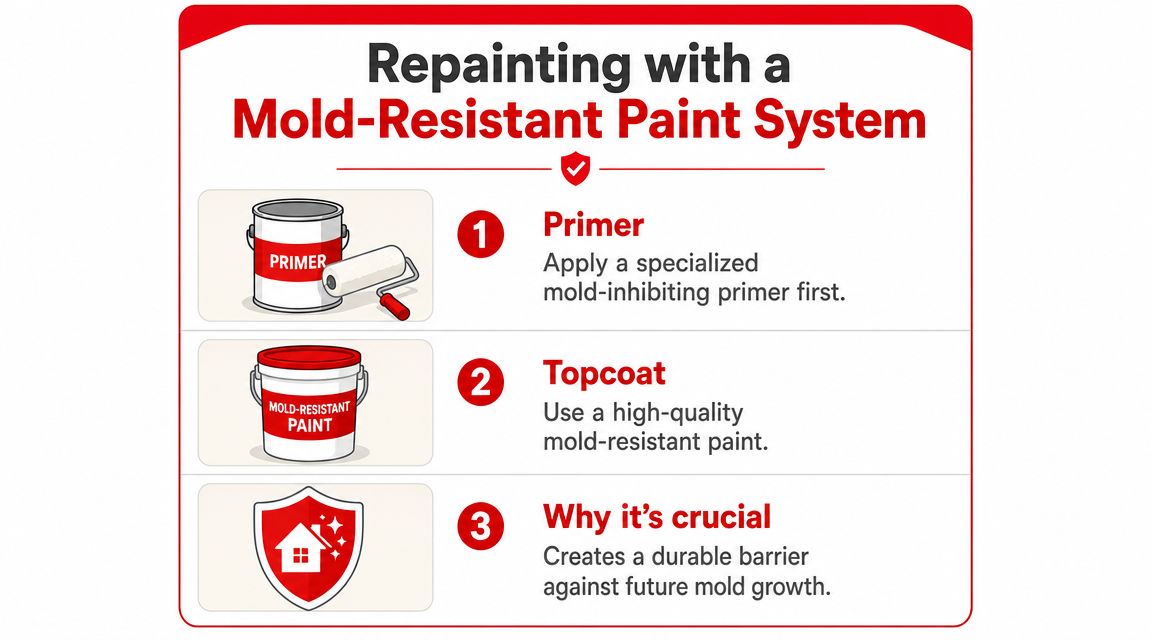
The usual sequence is:
-
Primer or sealer where needed
On repaired areas, stained patches, or sanded sections, primer gives you holdout and adhesion. If there's a history of water marking, a stain-blocking primer is often the safer choice. -
First topcoat
This starts building the finish film and reveals any remaining patchiness, flashing, or imperfections. -
Second topcoat
A second coat improves coverage consistency and gives the coating system the build it was designed to have.
For wet areas, many painters favour dedicated bathroom and kitchen products rather than basic ceiling paints. If you're weighing coating options for moisture-prone interiors more broadly, this guide on waterproof paint for interior painting is a useful companion read.
Where standard ceiling paint falls short
Standard ceiling paints can look fine on day one. The issue is performance over time in rooms that regularly deal with steam and condensation.
A better-performing system for bathrooms and laundries usually focuses on:
- Better washability: Handy when you need to clean light residue later.
- Improved moisture tolerance: Important in rooms that cycle from dry to steamy.
- More reliable coverage over repaired areas: Especially after stain blocking and patching.
A mold-resistant paint system is there to support the fix, not replace it. If the room still can't clear moisture, even a good coating is being asked to do the wrong job.
Product choice also depends on the existing finish, the condition of the ceiling, and how much repair work was needed. A recently patched bathroom ceiling may need a different primer approach from a previously painted but stained ceiling that's otherwise intact.
From a painter's perspective, the finish should look uniform from doorway to shower line. No flashing over patches, no stain bleed, no rough scrub marks telegraphing through fresh paint. That outcome comes from preparation and system selection together, not from paint alone.
When to Call a Professional Painter or Remediator
Some mold jobs are manageable. Others carry enough risk, damage, or uncertainty that DIY stops being the sensible option.
If the mold covers a large area, keeps returning after cleaning, or the ceiling material is porous, damaged, or repeatedly wet, replacement may be needed rather than more surface cleaning, as reflected in the earlier guidance. That's the point where the job becomes less about wiping and more about diagnosis, repair, containment, and refinishing.
Signs the job has moved beyond DIY
Call in help if you notice any of these:
- The mold comes back after you've cleaned it and improved day-to-day ventilation
- There's a strong musty smell even when the visible patch is small
- The plasterboard feels soft, swollen, or sagging
- You can see heavy staining, bubbling paint, or damage spreading
- The affected material is a porous ceiling product that doesn't clean up cleanly
If you're trying to understand whether testing is worth considering in a broader indoor-air context, this guide on Tucson mold testing gives a useful overview of when homeowners start looking beyond visible surface cleanup.
What to ask before hiring help
A good contractor should be able to talk clearly about both the cause and the finish.
Ask practical questions such as:
- What do you think caused the mold?
- Is the substrate sound enough to clean and repaint, or does it need patching or replacement?
- What preparation is included before painting?
- Will you use stain-blocking products where needed?
- How will you protect the room and keep the site tidy?
If you're comparing painting contractors for this kind of work, this article on how to choose the right painter for your home is a solid checklist.
The line between a simple cleanup and a proper repair is usually easy to spot once you know what to look for. If the ceiling is dry, sound, and the problem was minor, a careful DIY job can be enough. If the issue involves ongoing moisture, damaged plaster, stains that won't stay hidden, or a room that needs full preparation and repainting, bring in a professional before you spend time and money doing the job twice.
If your bathroom, laundry, or interior ceiling needs more than a quick wipe-down, Newline Painting can help with the full fix-and-finish process. That includes assessing the condition of the surface, preparing damaged areas properly, applying the right primer and topcoat system, and delivering a clean, durable repaint for Melbourne homes. If you want a clear written quote, practical advice on whether to clean, patch, or repaint, and a tidy team that understands moisture-affected interiors, book a free on-site quote.