You're probably looking at a driveway that's sound structurally, but tired on the surface. The concrete may be stained, patchy, or just dragging down the front of the house. In Melbourne, that often happens on driveways that cop full sun one week, rain the next, then a cold snap before the slab has properly dried.
That's why learning how to paint driveway concrete isn't really about rolling on a coating. It's about preparation, product choice, and timing. Get those three right and the finish has a chance. Get any one of them wrong and you'll usually see peeling, patchy wear, tyre marks, or edge breakdown far sooner than expected.
On older homes in suburbs like Kew, Hawthorn, Malvern, or Albert Park, the driveway often sits hard against masonry, garden edges, and older drainage details. That makes clean cut lines and careful moisture management even more important than on a new slab in a contemporary build. The job can look simple, but it's unforgiving.
Table of Contents
- Critical Preparation for a Lasting Driveway Finish
- Choosing the Right Driveway Coating System
- The Application Process From Start to Finish
- Weather Windows and Curing Times in Melbourne
- Common Driveway Painting Mistakes and How to Avoid Them
- DIY Project vs Hiring a Professional in Melbourne
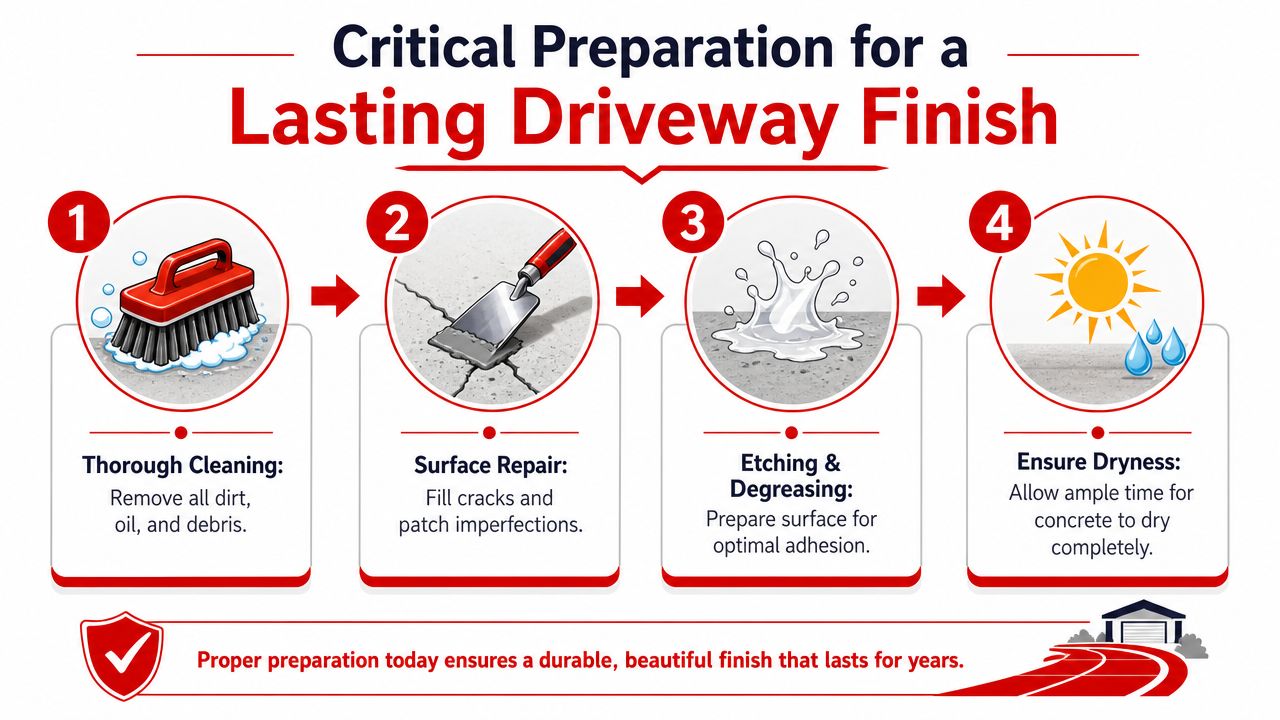
Critical Preparation for a Lasting Driveway Finish
A driveway can look ready on a mild Melbourne morning and still fail a week later because the slab was dirty below the surface, holding moisture, or too smooth for the coating to grip. Prep decides whether the finish wears evenly under tyres or starts lifting at the turning point and garage edge.
Clean it like you mean it
Concrete holds more contamination than many owners expect. Tyre plasticiser, oil, leaf tannin, fine silt, fertiliser residue, and remnants of old sealer all sit in the pores. If those stay in place, the new coating bonds to the contamination instead of the slab.
Start dry. Sweep and vacuum loose grit first so you are not turning dust into sludge. Then treat oil and grease properly with a concrete degreaser and stiff broom, especially where cars sit overnight, where wheels turn, and along the strip near the garage door. After that, pressure wash the slab hard enough to flush the pores clean, not just rinse the surface.
The slab needs to pass a simple check. Water should wet out across the surface. If it beads or pulls away in patches, contamination or old sealer is still there.
If you want another practical reference on slab condition before coating, these foundation insights for PA homeowners make the same point from a different angle. The coating only lasts if the surface underneath is clean and sound.
For a broader comparison between outdoor slabs and other concrete surfaces, Newline Painting's guide to painting concrete surfaces is useful background.
Repair defects before you hide them
Coating makes defects more visible. It does not stabilise weak concrete.
Hairline cracking in an otherwise firm slab is usually manageable with the right filler or repair compound. Open cracks, spalling edges, soft surface paste, and drummy patches need closer attention because those problems keep moving after the paint goes on. On older Melbourne driveways, I often see this around the street edge, at saw cuts, and where tree roots or poor drainage have stressed the slab.
Use this as a site check before any primer or topcoat comes out:
- Hairline cracks: Usually suitable for filling once the slab is clean and fully dry.
- Open or changing cracks: Repair first and assess whether there is movement underneath.
- Powdery or weak surface concrete: Remove loose material or mechanically prepare back to sound concrete.
- Flaking old paint or sealer: Strip or grind back to a stable edge. Coating over loose material just copies the failure.
Create a surface the coating can grip
A clean driveway can still be the wrong surface for paint. Dense steel-trowelled concrete, old sealed concrete, and hard machine-finished slabs often need more than washing before they are ready.
That is where surface profiling comes in. Depending on the slab and the product system, that may mean acid etching where the manufacturer allows it, or mechanical abrasion such as grinding. The aim is the same in both cases. Remove weak material, dull the surface, and give the coating a profile it can bite into.
On domestic jobs, the mistake I see most often is partial prep. The owner cleans the middle of the driveway well, then leaves the edges, corners, and apron smoother or dirtier than the field. Those spots fail first because they see water runoff, wheel scrub, and extra dirt build-up.
The prep sequence is straightforward:
- Remove loose dirt and debris
- Degrease contaminated areas
- Pressure wash thoroughly
- Repair cracks and local damage
- Profile the surface if required by the coating system
- Wash or vacuum off residue
- Let the slab dry right through
Let Melbourne weather slow you down
Drying time is where Melbourne catches people out. A driveway can look dry at lunch and still hold moisture below the surface after a cool night, light rain, heavy dew, or a run of cloudy days. That is common on shaded driveways in Camberwell, leafy blocks in the eastern suburbs, and south-facing slabs that get limited sun.
Moisture trapped under a fresh coating usually shows up as whitening, poor adhesion, blistering, or early peeling. Once that happens, there is no clever fix. The failed areas need to be removed and redone.
Give the slab more time than you think it needs, especially after washing or etching. If the weather has been unstable, wait for a cleaner run of days rather than trying to force the job through a marginal window. On driveway work, patience during prep is usually what separates a finish that lasts from one that starts breaking down after the first wet spell.
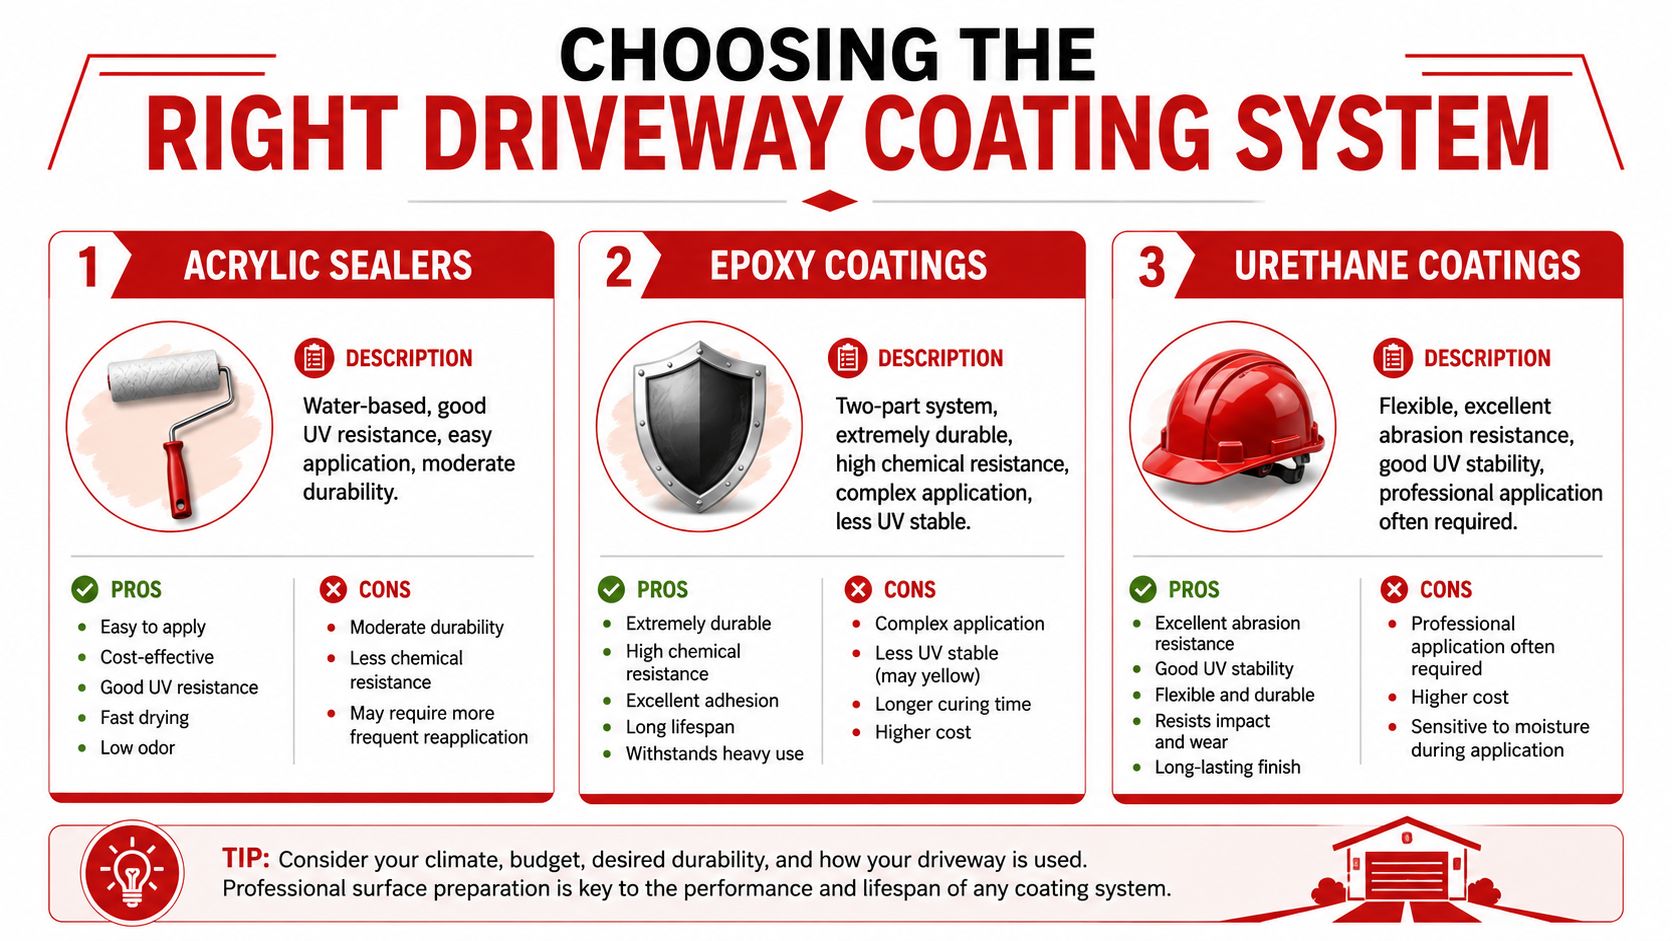
Choosing the Right Driveway Coating System
A coating that looks right on a dry Saturday can fail fast after a Melbourne week of cold mornings, light rain, and afternoon sun. Product choice sets the limits of the job before the roller comes out, so match the system to traffic, exposure, and how often you are willing to maintain it.
A useful Australian framing is that exterior concrete coatings have to handle UV, thermal cycling, and water exposure. On a Melbourne driveway, that means summer sun on exposed concrete, winter moisture that lingers longer than expected, and movement from day-to-night temperature swings. The practical question is not just whether a product will stick on day one. It is how it will wear at the apron, under turning tyres, and through repeated wet-dry cycles over the next few years (Australian context for exterior concrete coatings).
Acrylic driveway paint
Acrylic systems are usually the starting point for homeowners because they are familiar, easier to source, and available in a wider colour range than many heavier-duty systems. If the slab is sound and the goal is mainly to improve appearance, acrylic can do that well.
The trade-off is ongoing maintenance. Acrylic films tend to show wear sooner on driveways with frequent turning movement, strong sun, or regular moisture sitting on the surface. In Melbourne, that often shows up first on west-facing driveways, exposed crossovers, and shaded slabs that stay damp through winter.
For a lightly used driveway or a property where colour change matters more than maximum service life, acrylic is still a reasonable choice. Just go in expecting a shorter repaint cycle than you would with a harder-wearing system.
Epoxy coating systems
Epoxy suits owners who want a thicker, more durable film and are prepared to be stricter about specification and application. It performs best when the slab has been prepared properly and the coating is applied within a stable weather window.
This system makes the most sense where tyres scrub, where the driveway runs into a garage, or where the owner wants a more substantial build than standard paving paint. The catch is that epoxy is less forgiving outdoors than many people assume. In Melbourne, a product that goes down nicely in mild conditions can still be exposed to dew, cool overnight temperatures, or rapid surface heating the next day. Those swings affect cure, gloss consistency, and long-term adhesion.
If you're comparing those systems more closely, this explanation of epoxy paint vs epoxy coating helps separate film-forming decorative paint from a more durable coating build.
For readers interested in how more flexible protective systems behave on concrete, this overview to learn about Titan Coatings elastomer is useful context. It's not a default driveway recommendation, but it does show why movement, bridging, and substrate behaviour matter when you're choosing any exterior coating system.
Penetrating sealers and natural-look options
A penetrating sealer is often the better answer if you do not want a painted finish at all. These products protect within the concrete instead of leaving a coloured film on top.
That changes the risk profile. You give up the visual transformation, but you also avoid many of the wear patterns that come with surface coatings, especially tyre marking and edge breakdown. On plain or decorative concrete that already looks good, that can be the smarter long-term decision.
A simple selection guide
| System | Best suited to | Main trade-off |
|---|---|---|
| Acrylic paint | Decorative colour change on a sound slab | Ongoing recoating cycle |
| Epoxy | Higher-wear areas and owners wanting a more durable coating | More demanding prep and application |
| Penetrating sealer | Natural concrete appearance with protection | Limited aesthetic change |
Choose for year three, not day three.
In Melbourne's conditions, the best coating system is usually the one that fits the slab's exposure, the traffic it carries, and the maintenance you will keep up with.
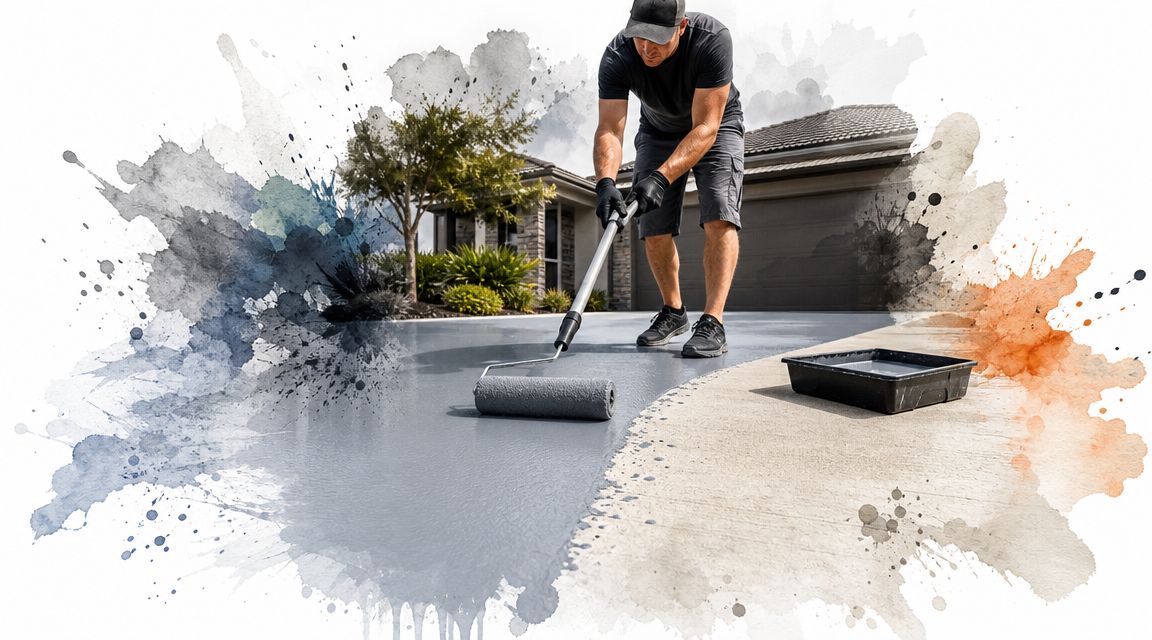
The Application Process From Start to Finish
A driveway can look ready in the morning and still be a poor candidate for coating by midday. In Melbourne, that happens all the time. The slab might be dry on top, then hold dampness in cooler sections near the garage, along shaded edges, or over denser patches of concrete. Good application starts with reading the slab properly, then keeping the work sequence tight so the coating goes down evenly and cures the same way across the whole area.
Start with edges joints and details
Mask where needed, then cut in the fixed edges first. That means walls, garage thresholds, drains, garden borders, and any joint line where a messy edge will stand out forever.
Use a brush for tight spots and detail work, but keep the build light. Heavy coating at the perimeter often dries at a different rate from the open field, which can leave sagging, patchy gloss, or a visible picture frame around the driveway.
A workable order is simple:
- Stir or mix the product properly
- Apply primer if the system calls for it
- Cut in borders and detail areas
- Roll the main field in controlled sections
- Keep a wet edge between passes
- Check for missed spots and uneven build before tack-off
Roll in sections and keep the film even
Use a roller on an extension pole. It gives better pressure control and lets you see where each pass overlaps. On larger driveways, divide the slab by existing joints or natural visual breaks and finish one section cleanly before starting the next.
Thickness matters more than many DIY owners expect.
Too much product is one of the common reasons a new driveway coating ends up with soft cure, roller marks, patchy sheen, or tyre pickup. A thinner, even coat usually performs better because it cures at the rate the manufacturer intended. That is especially important in Melbourne, where a cool change can hit after a warm afternoon and slow the back end of the cure.
Apply the first coat for bond and uniform coverage, not for final appearance. The second coat does most of the visual work. If you try to get full colour and full build in one pass, you usually create problems that show up later.
A short manufacturer demonstration is worth watching before you start:
Follow the coat system exactly
Stick to the stated primer, mixing ratio, coat count, and recoat window. Do not guess. Do not stretch the pot life because the bucket still feels usable. Once a two-pack product starts to go off, it stops laying down properly even if it still rolls.
Older driveways make this more obvious. Repaired areas, worn tyre tracks, and sections with previous contamination often absorb the first coat differently. If application is inconsistent, those areas will flash, wear unevenly, or show colour variation after curing.
On site, I also watch the sun and the slab temperature as much as the clock. One side of a Melbourne driveway can be hot and fast-drying while the shaded side stays cool and slower to cure. The application order has to follow those conditions. Start in the area that gives you the best control, maintain a wet edge, and avoid rolling back into material that has already started to tack off. That is how you keep lap marks, texture changes, and weak overlap lines out of the finished job.
Weather Windows and Curing Times in Melbourne
You can get the prep right, use the right coating, and still end up with tyre marks or whitening if Melbourne gives you a bad weather window. That is what catches people out. The slab might look dry by lunch, then pick up moisture again overnight, especially in the cooler months or on shaded driveways.
Why Melbourne weather changes the whole job
Melbourne driveways rarely cure under steady conditions. A slab in full sun in the west or north can heat up fast, while the shaded edge near the garage stays cooler and holds moisture longer. In bayside suburbs such as Brighton or St Kilda, salt air and overnight damp can slow things down again. Inland, the issue is often bigger day to night temperature swings.
That is why a driveway job needs more than “no rain today”. It needs a clean run before application, suitable conditions while the coating is going down, and enough stable time afterwards for the film to harden properly. Generic overseas guides often miss this because they assume longer stretches of predictable weather. Melbourne does not give you that.
Australia-facing guidance also points to the same practical requirement. The concrete needs to be fully dry after washing and before coating, and the forecast needs to give you enough clear time for the system to settle and cure properly (weather-window planning for concrete coating).
On site, I usually treat overnight dew as seriously as light rain. If moisture sits on a fresh coating before it has cured enough, you can end up with patchiness, loss of gloss, or a soft film that marks too easily in the first week.
A sensible weather check includes:
- Dry slab condition: The surface must be dry right through after cleaning or etching, not just dry on top.
- Stable forecast: A clear few days is safer than trying to squeeze the job into a short break between showers.
- Controlled slab temperature: Very hot concrete can make the coating tack off too fast and leave roller texture or lap marks.
- Overnight exposure: Dew, cold air, and shade can slow curing more than many homeowners expect.
Drying recoat and cure are not the same thing
This is where a lot of driveway jobs go wrong. A coating can feel dry to the touch and still be nowhere near ready for tyres, steering load, or a parked car sitting in one spot.
As noted earlier, manufacturer guidance for driveway coatings often separates early touch-dry times from full vehicle traffic cure by a wide margin. That gap matters. The surface firms up first, but the coating underneath still needs time to build hardness and adhesion.
Use these stages as a practical guide:
| Stage | What it means |
|---|---|
| Touch dry | Surface is no longer tacky |
| Recoat ready | You can apply the next coat within the specified window |
| Foot traffic ready | Light pedestrian use only |
| Vehicle traffic ready | Coating has cured enough to handle tyres, turning, and parked vehicle load |
A driveway can look finished a long time before it is ready to use normally.
In Melbourne, I would rather delay parking by an extra day than hand over a driveway that gets scarred by hot tyres or twisted by an early turn of the steering wheel. That trade-off is worth it. A little patience during curing usually gives you a harder, cleaner finish that lasts longer.
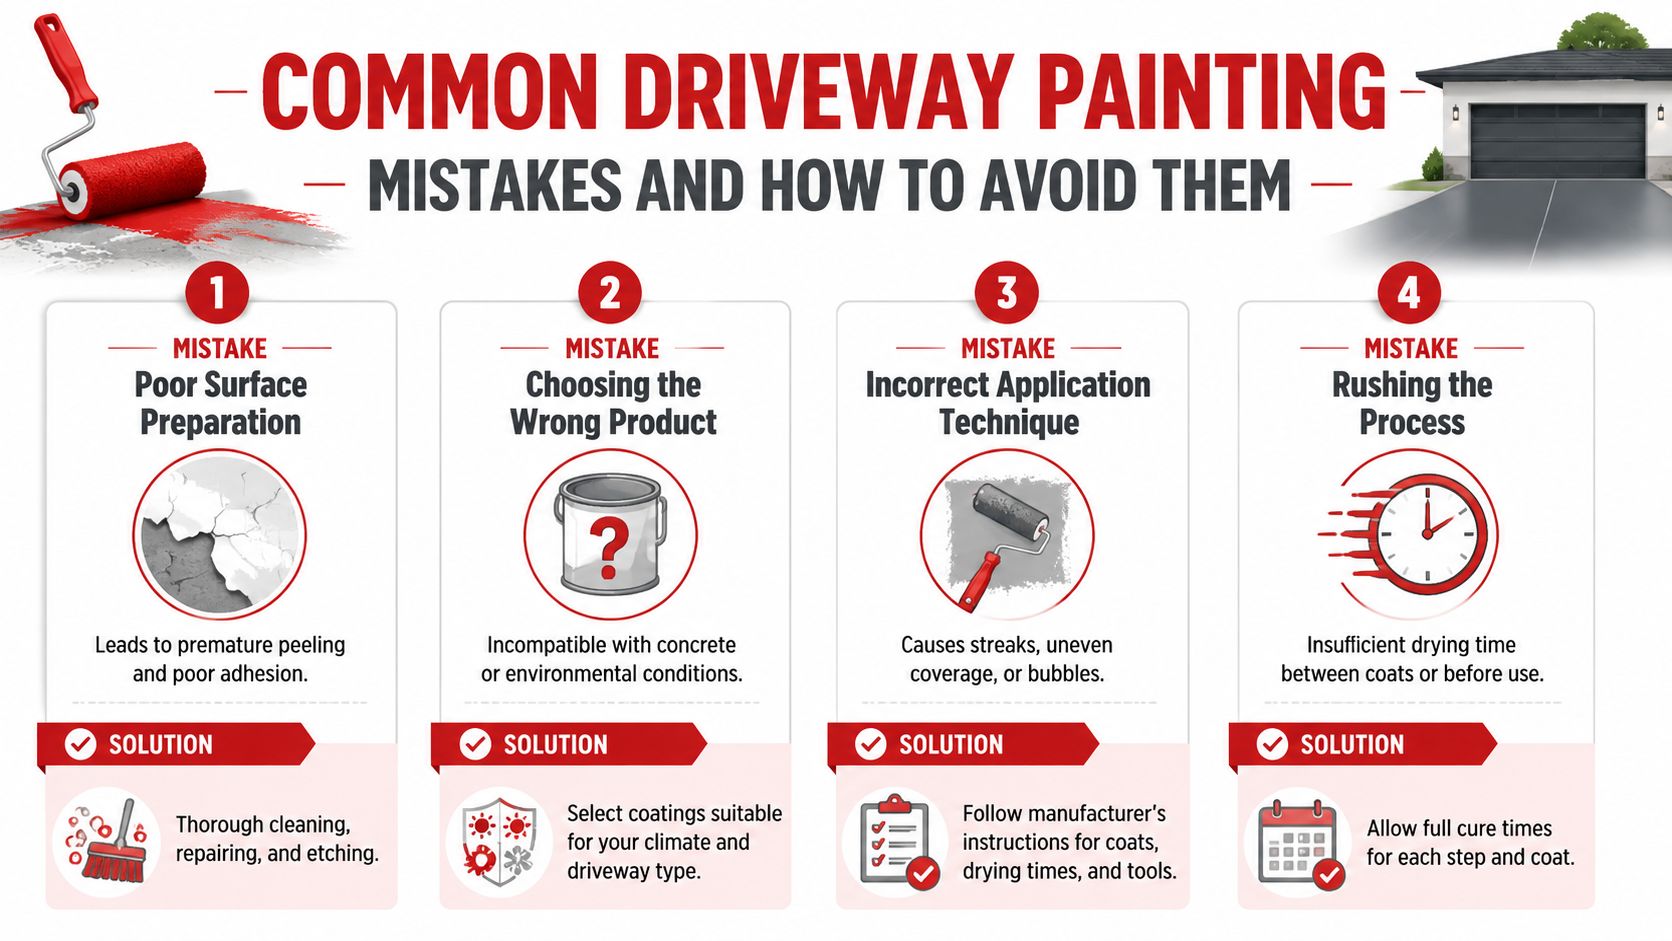
Common Driveway Painting Mistakes and How to Avoid Them
Most driveway paint failures aren't mysterious. They trace back to a handful of repeat mistakes.
Peeling flaking and early wear
The most common cause of adhesion failure is missed prep. Australian guidance emphasises the prep sequence of clean, etch, pressure-wash, and dry completely, and it also warns owners to check the label for sloped driveways, where runoff and film build can cause failure if the product or application method isn't suitable (Australian guidance on sloped driveways and adhesion failure).
If you see peeling, start by asking these questions:
- Was the slab fully degreased
- Was residue washed off after etching
- Was the concrete completely dry
- Was the product suitable for the driveway profile
On sloped driveways, excess material tends to travel downhill, pool at low points, and leave thin areas elsewhere. That creates uneven wear and a finish that can fail in strips rather than uniformly.
Patchy colour roller marks and slope problems
Uneven colour usually comes from poor mixing, uneven porosity across the slab, or inconsistent wet-edge control. Roller marks show up when one section starts drying before the next section overlaps into it.
There's also the human factor. People rush the last quarter of the driveway because they can see the finish line. That's where application quality often drops.
A quick fault-prevention summary helps:
| Problem | Usual cause | Better approach |
|---|---|---|
| Peeling | Poor prep or damp concrete | Complete the full prep sequence and wait for full dryness |
| Patchy finish | Uneven application or absorption | Work in sections and keep coverage consistent |
| Tyre marking | Traffic too soon | Honour cure times before parking |
| Sagging on slopes | Product overload or wrong system | Use suitable products and thinner, controlled coats |
On driveway work, patience is part of the coating system.
DIY Project vs Hiring a Professional in Melbourne
A driveway can look like a manageable weekend job on Friday and become a problem by Monday if Melbourne's weather turns. That matters more on driveways than many homeowners expect, because timing, surface moisture, and cure conditions have a direct effect on how long the coating lasts.
DIY is a reasonable option on a plain, sound slab where the existing concrete is clean, the profile is suitable, and you can keep cars off it for the full coating and curing period. In practice, that usually means a driveway with minor cosmetic wear, no widespread cracking, no old coating failures, and no serious oil contamination.
The bigger trade-off is not just the first coat. It is the maintenance cycle. Lower-cost DIY systems can freshen up a tired driveway, but they usually need more regular recoating and they are less forgiving of weak prep or poor weather timing. Melbourne owners often get caught here. A run of cool nights, unexpected drizzle, or heavy morning dew can stretch a simple DIY plan into a stop-start job.
Hiring a professional makes more sense when the driveway has slope, patch repairs, surface softness, previous sealer or paint, or exposure that leaves parts of the slab damp longer than the rest. Those jobs need better diagnosis before any coating goes down. The question is not just what paint to use. It is whether the slab is ready to hold that system.
A proper scope should set out the prep method, the coating system, how many coats are going on, realistic downtime, and what weather window the contractor is relying on. If you are comparing the full job properly, not just the headline number, this guide to driveway painting cost gives a useful breakdown of what affects price.
I tell homeowners to be honest about the risk they are taking on. If a DIY job fails, the fix is rarely a quick touch-up. It often means grinding, stripping loose material, cleaning again, and starting over. That rework cost is where a cheap first pass stops looking cheap.
Newline Painting is one Melbourne-based option for owners who want a trade-qualified team to handle the work. The company works across residential and selected commercial painting, and backs its workmanship with a 7-year warranty and $20M public liability insurance. On driveway coatings, that matters because long-term performance comes from the inspection, the prep standard, and applying the system in the right conditions.
If your driveway runs into the garage, sits on a visible frontage, or needs to hold up under daily vehicle use, professional application usually gives you a better margin for error. Driveway painting is not difficult because rolling paint is hard. It is difficult because concrete, weather, and timing all have to line up.